So you’ve just approved an amazing packaging design for your product. The investment of time, energy, and cost was totally worth it. Your brand has come to life! Now, all you have to do is print/manufacture it.
Ask yourself:
How can you be sure your vision on the screen translates to what actually hits the shelf?
How does the designer know what your printer needs? (Assuming you have a printer!)
What if there’s a misprint? Is it the printer's fault or yours?
We’re the files set up improperly?
Did you approve a proof with a mistake?
There is no winner here. Only lost time in costly re-prints, delaying your product and revenue. Before you make a costly mistake here's a step-by-step guide to help you prepare your art files effectively.
1. Communicate with Your Printer:
Preferably, before (or during) the design process, reach out to your flexible packaging printer to discuss their specific requirements. (i.e.: acceptable file formats, color profiles, and any unique considerations for their printing process.) Understanding your printers capabilities and preferences is the first step to ensuring a successful print job.
2. Get A Template To Your Exact Size:
Another reason to be close to your printer early. Get samples of the pouches to ensure the size is correct for your product. Have your printer supply a tempalte, or die line, with all the proper call outs to ensure the following:
Correct packaging dimensions
Bleeds and trim
Color profiles (i.e.: digital = CMYK / flexo = CMYK and spot PMS)
Zipper, fold, and gusset placement
Image resolution
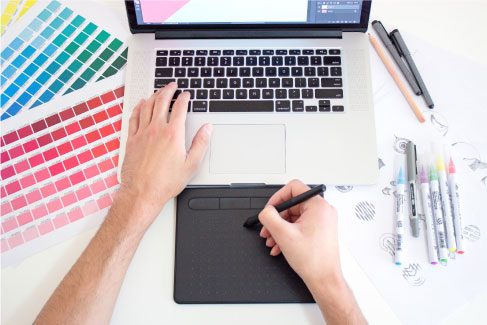
3. Choose the Right Design Software:
This might be the easiest one, especially if you’ve hired a design firm or have an internal design team. Use professional design software like Adobe Illustrator or Adobe Photoshop to create your art file. These programs offer the necessary tools and settings for creating press-ready files. A flattened .jpeg in a Word doc is NOT press friendly!
4. Embed Fonts or Convert to Outlines:
This is a common misstep that adds to delays during pre-press. To avoid font-related issues, either embed the fonts you've used in your design or convert text to outlines (also called paths or shapes). This ensures that the text will be displayed correctly during printing.
5. Vector Graphics Preferred:
Whenever possible, use vector graphics for logos, text, and essential design elements. Vector graphics are resolution-independent and maintain their quality at any size.
Note: Product shots and photos should be hi-res and linked in your file to a native PSD to ensure the highest resolution.
6. Flatten Transparencies:
If your design includes transparency effects like gradients or drop shadows, flatten them to avoid unexpected printing issues. Most design software has options for flattening a transparency.
Note: Does your pouch or wrapper have a window? Here are some tips to help set up a white layer.
7. Proof and Test:
Before sending your file to the printer, create a digital proof or request a hard copy proof to review colors, layout, and alignment. Make any necessary adjustments based on the proof.
Note: Press proofs and hard copy proofs usually come with an additional charge. (and additional time.) It may be worth it to ensure accuracy. Reprints should be done exactly the way they were approved the first time, so this step should only be done once with new SKU’s or files.
8. Save and Export Correctly:
Save your final design file in the appropriate format recommended by your printer. Native Illustrator and Photoshop files are best for file submission.
9. Send a Complete Package:
When submitting your files to the printer, provide all necessary elements, including the main design file, fonts (if not outlined), and linked images. Organize your files, fonts, and images into a folder and clearly label them for easy identification.
Note: Pre-press departments are good at finding file issues, but unnecessary “back-and-forth” leads to unnecessary delays.
10. Approve Proofs Carefully:
Great job. The files came in just as the printer wanted them and now all it needs is your signature. Double check everything and have multiple people look at it. Once you approve it, it's off to the press.
Note: Don’t forget to approve your proofs in a timely manner. Your project won't be in the production schedule until you give the green light.
By following these steps and maintaining open communication with your printer, you can create press-ready art files that streamline the printing process and result in the flexible packaging solution of your dreams!
Need Help Setting Up Your Art Files?
Have specific questions about setting up your stand up pouch or packaging file? Hit up a packaging specialists here at The Pouch House. We’re here to help! You can always check out our resource page for more infomation as well.
Leave your comment